
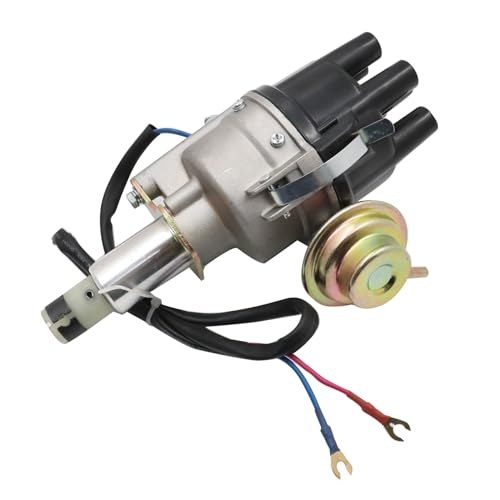

The distributor comes out for a handful of reasons: engine rebuild, a worn-out unit, or a timing problem that won’t respond to clamp adjustment. In every case, reinstallation is where owners lose time. The L24 uses a helical-cut drive gear off the camshaft, which means the rotor rotates as the distributor descends into the head. Get the initial position wrong and you’re anywhere from 10° off to a full 180° out — which is a no-start.
Done with a reference mark and a timing light, the whole job is about 30 minutes. Done blind, it can take an afternoon.
What You’re Working With
The S30 240Z without emission controls runs a Hitachi D606-52 distributor. It combines centrifugal advance weights and a vacuum advance diaphragm to move timing with engine speed and load. The drive is a helical gear meshed to the camshaft, which introduces the complication: pulling the distributor out causes the rotor to spin as the gears disengage, and lowering it back in does the same in reverse. You can’t ignore this offset on reinstallation.
The distributor body is secured with a single hold-down clamp. Loosening that clamp lets you rotate the body to set base timing with a timing light — which is the correct final adjustment method, not matching marks alone.
Specs at a Glance
Values below apply to the 240Z (S30) with twin-carb L24, non-emission-controlled.
| Spec | Metric | Imperial | Condition |
|---|---|---|---|
| Ignition timing — manual trans | 17° BTDC @ 650 rpm | — | Vacuum disconnected and plugged |
| Ignition timing — auto trans | 17° BTDC @ 700 rpm | — | “N” range, vacuum disconnected |
| Dwell angle | 35° to 41° | — | — |
| Point gap | 0.45 to 0.55 mm | 0.0177 to 0.0217 in | Check every 4,000 km / 2,500 mi |
| Point pressure | 0.50 to 0.65 kg | 1.1 to 1.4 lb | — |
Tools
| Tool | Buy | |
|---|---|---|
 | Inductive timing light | Buy  |
 | Feeler gauge set, 0.45–0.55 mm range | Buy |

Also:
- Socket or combination wrench, 10 mm and 12 mm
- Breaker bar or ratchet for the crankshaft pulley bolt
- Tachometer (many timing lights include one
- Paint marker or machinist’s scribe
- Flat-blade screwdriver
- Short vacuum cap or golf tee (to plug the advance line during timing
Parts





Removal
1. Mark Before You Touch Anything
With the engine off and cold, make three reference marks using a paint marker:
- Body-to-head: Draw a line across the distributor body onto the cylinder head surface at the hold-down clamp. This records the rotational position of the housing.
- Rotor-to-body: Look straight down at the rotor. Draw a line on the rotor’s leading tip and extend it onto the distributor body directly below. This is your rotor departure reference.
- Clamp position: Mark the hold-down clamp’s relationship to the body so it goes back exactly where it was.
All three. Even if you’re sure you’ll remember.
2. Disconnect
Remove the distributor cap — two spring clips or screws depending on which cap you have. Set it aside with the plug wires still connected; there’s no reason to unplug them for a basic R&R.
Unplug the vacuum advance line from the side of the distributor body. If it’s stuck, twist it gently while pulling — don’t rip it.
Unplug the primary wire from the distributor (the small-gauge wire that runs to the negative terminal on the ignition coil).
3. Loosen the Hold-Down
One bolt secures the clamp that locks the distributor into the head. Loosen it until the distributor body turns freely but the clamp stays in place. Don’t remove the bolt entirely — a dropped hold-down clamp in the engine bay is an unnecessary problem.
4. Pull the Distributor
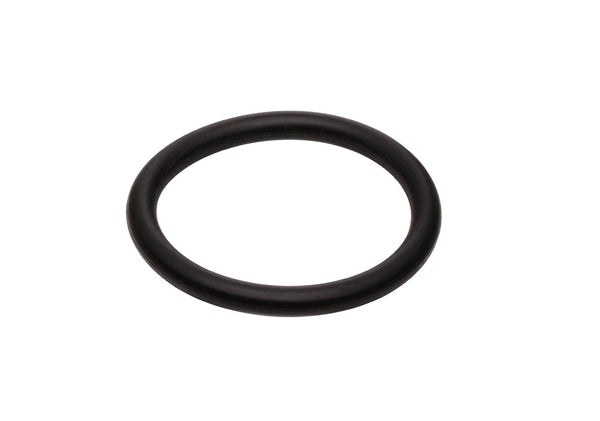
Grasp the body firmly and lift straight up with steady pressure. A tight O-ring may require a gentle rocking motion — keep it vertical. As the unit clears the head, watch the rotor. It will spin a few degrees as the helical gear disengages. Note the direction and approximate amount of rotation relative to your body mark. That offset is what you’ll need to pre-compensate on reinstallation.
Set the distributor down without disturbing the rotor’s final resting position.
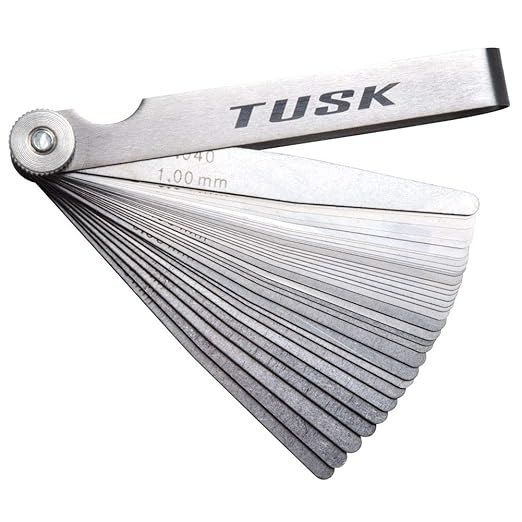
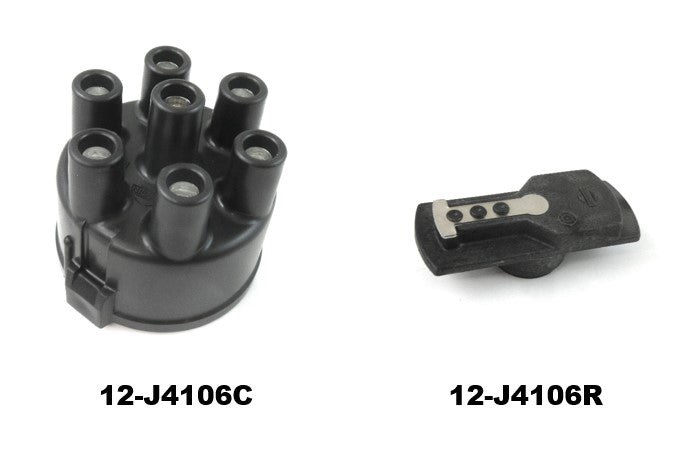
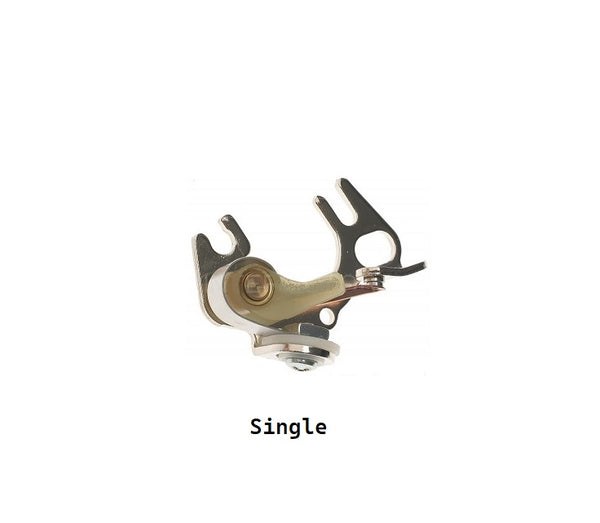
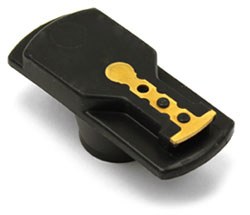
This is a good moment to service the cap, rotor, points, and condenser if any are due. With the distributor on the bench, the point gap is easy to check and adjust: target 0.45 to 0.55 mm (0.0177 to 0.0217 in) with a feeler gauge at the point of widest separation (rotor lobe peak). Point pressure should be 0.50 to 0.65 kg (1.1 to 1.4 lb) — a weak spring will close the gap under load and retard timing progressively.
Reinstallation
1. Set Cylinder 1 to TDC on the Compression Stroke
Cylinder 1 is at the front of the engine — the timing-chain end. The critical detail: you need TDC on the compression stroke, not the exhaust stroke. Both put the pulley mark at the same position on the timing plate; only one has the distributor rotor anywhere near the correct position.
To confirm compression stroke, remove the spark plug from cylinder 1 and place your thumb firmly over the hole. Rotate the engine clockwise (when viewed from the front) using a breaker bar on the crankshaft pulley bolt. When compression pushes against your thumb, you’re on the right stroke. Continue until the timing mark on the crankshaft pulley aligns with 0° (TDC) on the timing plate at the front cover.
The L24 firing order is 1–5–3–6–2–4. With cylinder 1 at TDC on compression, the rotor of a correctly seated distributor points toward the #1 wire terminal in the cap.
2. Pre-Position the Rotor
Before you lower the distributor, rotate the rotor forward of the #1 position by the same amount it rotated when you pulled it out — in the opposite direction. If the rotor spun clockwise by roughly 15–20° as it came out, set it counterclockwise of the #1 terminal by that same amount before you start lowering. As the gear engages on the way in, it will spin the rotor back to align with #1.
If this is a replacement distributor or you lost track of the helix rotation during removal, use the drive coupling slot at the base as a secondary reference: it should align with the offset drive dog visible in the head opening.
3. Lower and Seat
Hold the distributor body vertical and lower it straight down. As the gear meshes, guide the body so your body-to-head alignment mark tracks toward its original position. When fully seated, the rotor should land close to pointing at the #1 cap terminal. The clamp should sit near its original mark.
If the gear doesn’t mesh — you’ll feel it stop before full seat depth — lift the distributor out slightly, rotate the engine a few degrees by hand, and try again. Don’t force it.
Once seated, snug the hold-down clamp bolt enough to hold the distributor in place but still allow rotation with deliberate hand pressure. You’ll need to rotate the body during timing.
4. Reconnect
Reinstall the cap. Reattach the primary wire and vacuum advance line, but leave the vacuum line uncapped for now — you’ll plug it during the timing check.
Confirm the rotor is under the #1 wire terminal by pulling the cap and looking. If it’s off by 180°, you set TDC on the exhaust stroke. Pull the distributor, rotate the crank one full revolution, and reinstall.
5. Set Base Timing
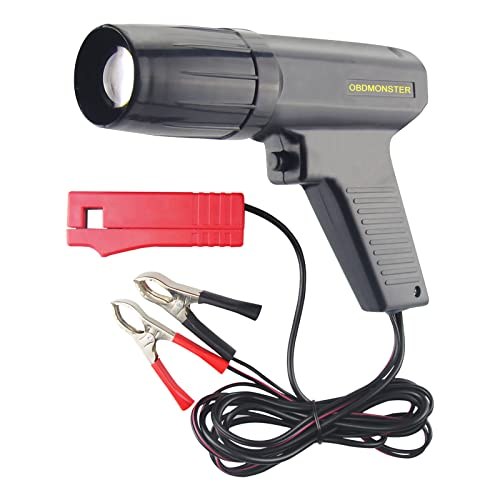
Plug and cap the vacuum advance inlet so it’s inactive. Connect an inductive timing light to the #1 spark plug wire and battery terminals per its instructions. Connect a tachometer.
Start the engine. Let it reach operating temperature. Set idle to 650 rpm (manual transmission) or 700 rpm in “N” (automatic). Aim the timing light at the crankshaft pulley and verify the timing mark against the timing plate:
Target: 17° BTDC at idle.
To adjust, loosen the hold-down clamp bolt slightly and rotate the distributor body. Moving the body advances or retards the point-opening event relative to TDC — use the timing light to confirm direction. Make small adjustments, retighten momentarily, and recheck until the mark is steady at 17°. Tighten the clamp bolt firmly once confirmed. Reconnect the vacuum advance line.
Common Mistakes
180° off (wrong TDC stroke). The engine cranks but won’t start, or backfires sharply. The rotor is pointing at cylinder 1’s position but on the exhaust stroke — 180° from where it needs to be. The fix: pull the distributor, rotate the crank one full turn (not a half turn) to bring it back to TDC on compression, and reinstall.
Ignoring the helix offset. Engine starts and runs, but base timing can’t reach 17° within the adjustment range — the clamp is fully rotated one way. You pre-installed the rotor at the wrong offset. Pull the distributor, pre-rotate the rotor in the appropriate direction to compensate, and reinstall.
Setting timing with vacuum connected. Manifold vacuum at idle advances timing through the vacuum canister, giving a falsely advanced reading. Always disconnect and plug the vacuum line before checking base timing.
Worn point gap causing timing drift. If you had to retard the distributor noticeably to hit 17°, and the engine was running fine before removal, check the point gap. A worn rubbing block (the fiber heel on the contact arm) reduces point gap over time, which retards ignition timing as the engine accumulates miles. Gap should be 0.45 to 0.55 mm; any less than that and the timing will keep drifting.
After Reinstallation
With timing set and the clamp tight, take the car for a short drive:
- Under light load: no pinging, detonation, or stumble on acceleration
- At idle: smooth, stable — no hunting or irregular firing
- On deceleration: no popping or backfire (a small amount is normal on overrun with SUs, but excessive backfire suggests timing is too far advanced)
At the next routine service, recheck the point gap — the FSM recommends inspecting tungsten-tipped points every 4,000 km (2,500 miles). The rubbing block wears continuously, and a closed gap is the most common cause of creeping timing retard on a car that otherwise runs well.