
The pilot bushing is a small bronze sleeve pressed into the center bore of the L24 crankshaft. It supports the nose of the gearbox input shaft and keeps it running concentric with the crank. When it wears — usually from dried-out grease or contamination — the input shaft wobbles slightly, loading the clutch disc unevenly, transmitting vibration through the pedal, and accelerating disc wear. It is an inexpensive part, and since the transmission is already out for a clutch job, replacing it costs almost nothing extra. Skipping it on a car with unknown service history is the wrong economy.
Background
The L24’s pilot bushing sits in a blind bore at the rear face of the crankshaft, centered in the flywheel. The gearbox input shaft passes through the clutch disc hub, and its nose rides inside the bushing. Bronze is well suited to this duty — it is self-lubricating and tolerates the brief, low-speed rotation that occurs during clutch engagement. In practice, a 240Z with original bushings has usually been sitting with dried grease for decades regardless of mileage, and the fit has long since gone sloppy. The bushing does not show obvious wear from the outside; you will not know its condition until you pull the transmission.
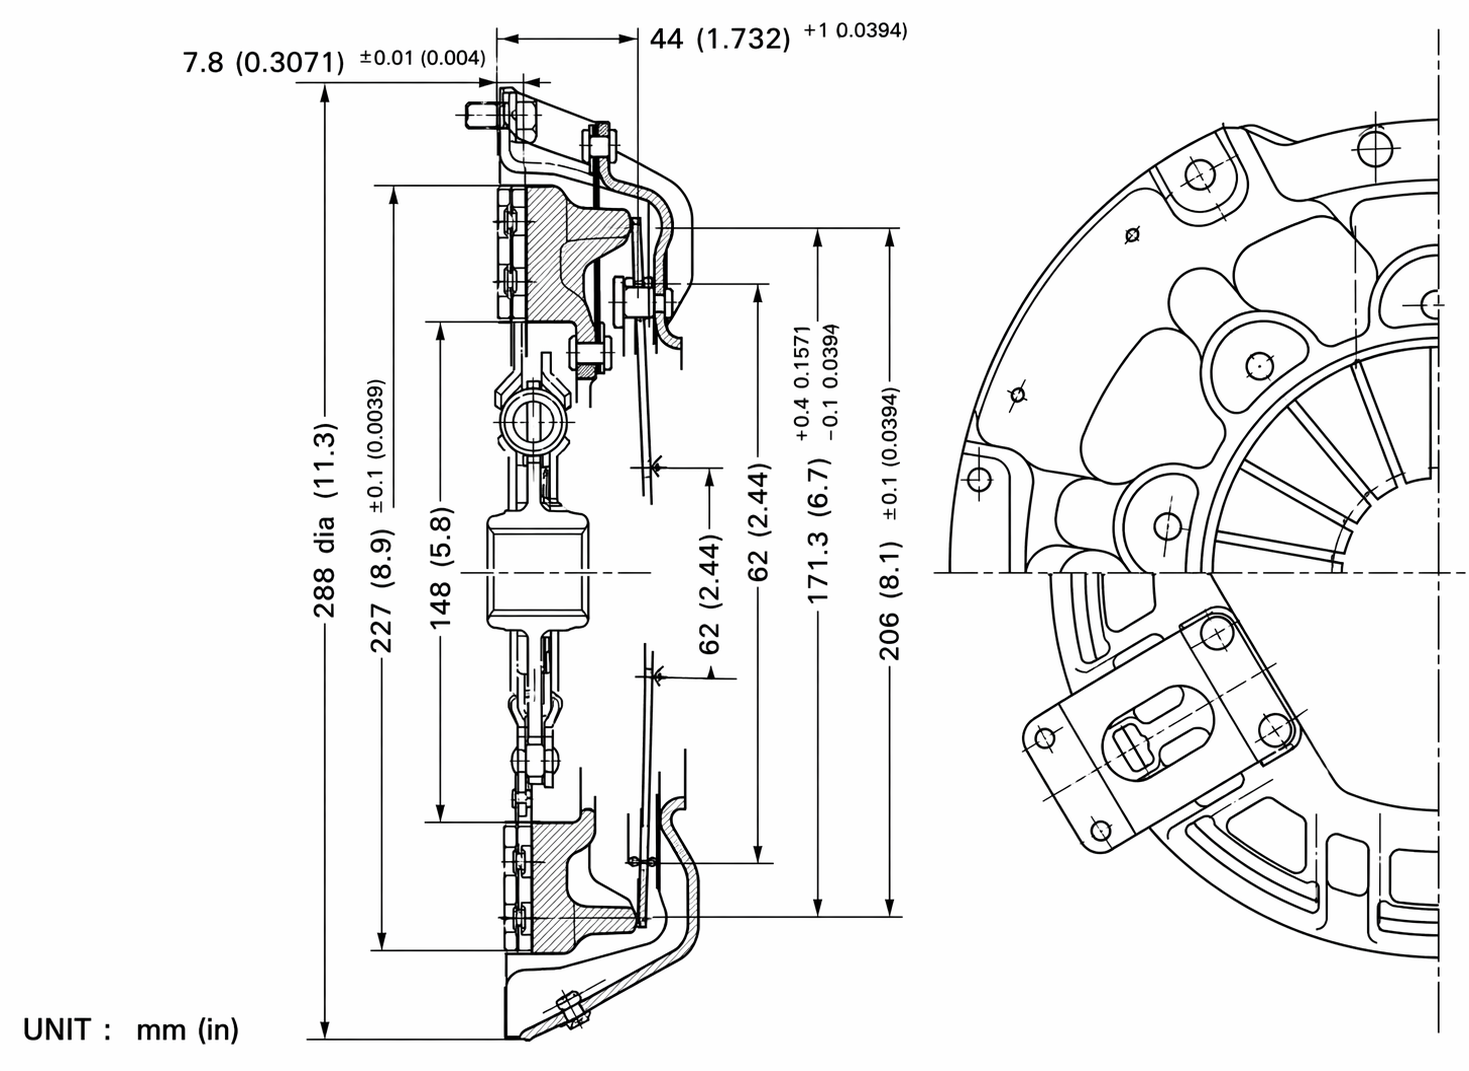
Specs at a Glance
| Item | Spec |
|---|---|
| Pilot bushing grease | Multi-purpose grease, MIL G-2108 or MIL-G-10924 |
| Clutch cover securing bolt torque | 2.4 to 2.6 kg-m (17.4 to 18.8 ft-lb) |
Tools
| Tool | Buy | |
|---|---|---|
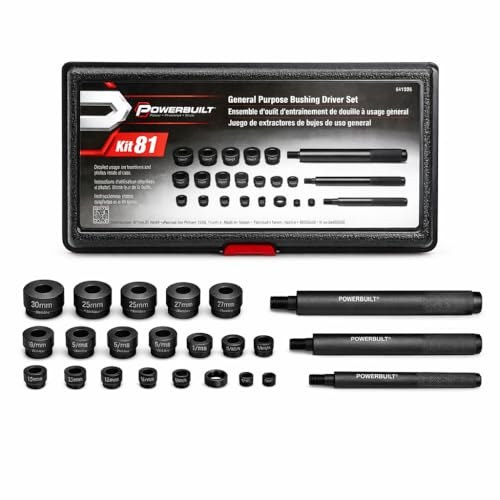 | Bushing driver set or deep socket matched to the bushing OD | Buy ↗ |
Also:
- Hardwood dowel sized to the bushing bore diameter (backup removal method (see procedure)
- Clutch alignment bar (Nissan ST20630000 equivalent) (·)
- Torque wrench, 0–25 ft-lb range
- Brake cleaner and shop rags
Parts
| Part | Recommended part | |
|---|---|---|
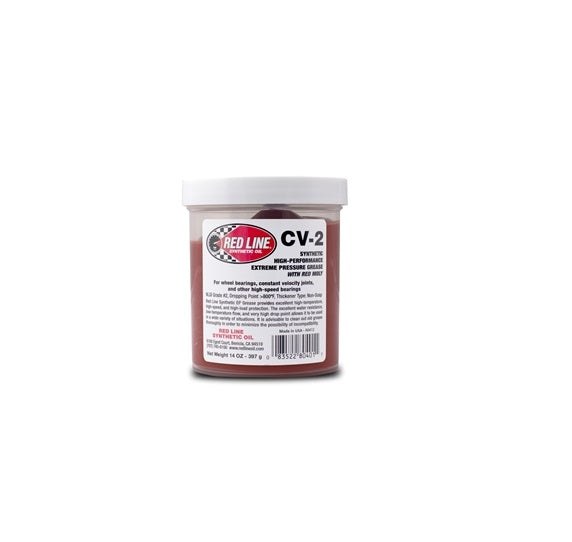 | Multi-purpose grease | Buy at ZCarDepot ↗ |
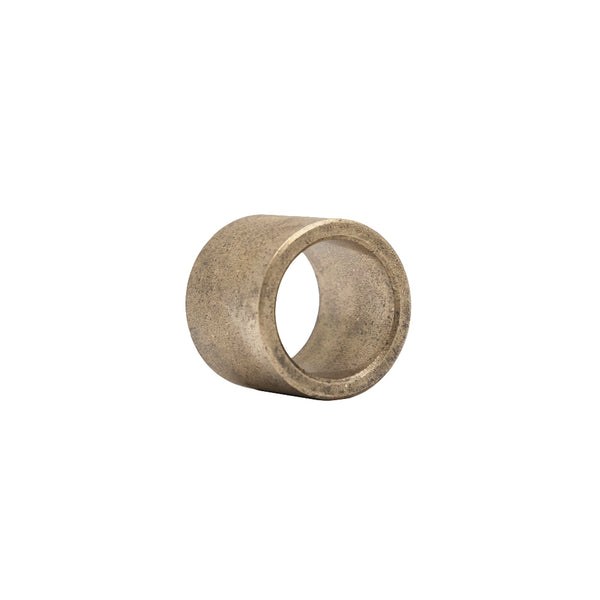 | Pilot bushing | Buy at ZCarDepot ↗ |
Procedure
1. Remove the transmission and clutch assembly
Access to the pilot bushing requires the gearbox out and the clutch assembly unbolted from the flywheel. Follow the transmission removal procedure, then with the release mechanism set aside, break the clutch cover bolts loose diagonally and gradually — the diaphragm spring is under load and releasing one side before the other can crack the cover or cock the pressure plate. Support the cover as the last bolt comes free, then slide the disc assembly off.
2. Inspect the pilot bushing
With the clutch off, the bronze bushing is visible in the crankshaft center hole. Check for:
- Roughness or scoring on the inner bore
- Any axial play — the bushing should be dead tight in the crank; looseness means the press fit has failed
- Dry or absent grease
Even if the bushing looks acceptable, replace it. A new bushing costs a few dollars; another transmission R&R costs hours.
3. Remove the old bushing
Method A — Puller. A dedicated pilot bushing puller or slide hammer with puller jaws is the cleanest approach. Seat the puller jaws inside the bushing bore so they grip the inner wall, then pull straight out without cocking the tool.
Method B — Bread trick. If you do not have a puller, pack the bore completely with wheel bearing grease or dense white bread — hollow rolls trap air and will not work. Cut a hardwood dowel to fit snugly in the bore and strike it sharply with a mallet. Hydraulic pressure behind the packed material pushes the bushing out cleanly. The bore must be fully packed with no air gaps for this to work.
Either way, keep the tool square to the bore. Nicking the crankshaft bore wall creates a headache that the new bushing cannot fix.
4. Clean and inspect the crank bore
Wipe the bore with a clean rag and brake cleaner. Check the bore wall for raised edges or heavy scoring left by the old bushing. Minor surface marks are acceptable — the bore just needs to be round, clean, and sized to accept the new bushing at a press fit. If the bore wall is badly scored or the bushing span in, the crankshaft will need machine shop evaluation.
5. Install the new bushing
Apply a thin coat of multi-purpose grease to the outer diameter of the new bushing to ease installation. Drive it in squarely using a bushing driver or a deep socket matched to the bushing OD. The bushing should seat flush with or very slightly below the bore face. Drive it in steadily, checking squareness as you go — a cocked bushing will close down the bore on one side and bind the input shaft nose.
6. Pack the bushing with grease
The factory specification calls for the pilot bushing bore to be filled with multi-purpose grease meeting MIL G-2108 or MIL-G-10924 before the transmission goes back in. Pack it fully. This is the only lubrication the input shaft nose will have, and it does not get refreshed at normal service intervals.
7. Reinstall the clutch assembly
Clean the flywheel face and clutch disc splines — grease or oil contamination on either surface will cause the clutch to slip or grab from the first drive. Position the clutch disc against the flywheel with the sprung hub torsion assembly facing the transmission side. Slide the clutch alignment bar through the disc hub and into the pilot bushing. The bar centers the disc on the crankshaft axis so that the input shaft splines can engage when the gearbox slides home; without it, the disc will be off-center and the transmission will not seat.
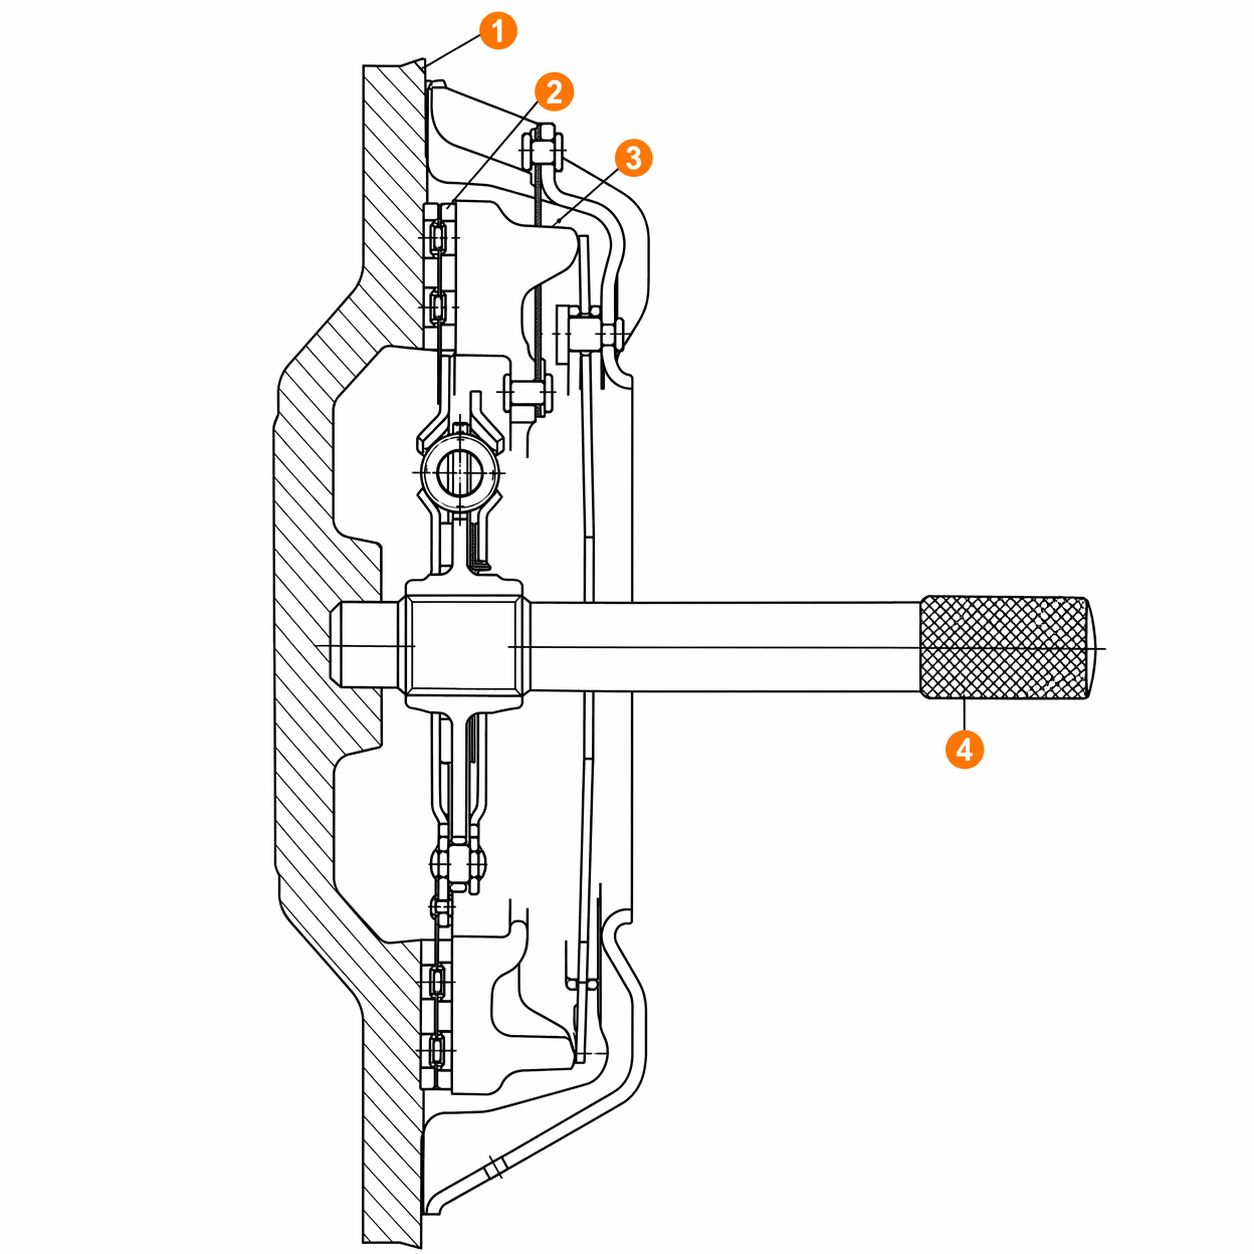
| # | Component |
|---|---|
| 1 | Flywheel |
| 2 | Clutch disc assembly |
| 3 | Clutch assembly |
| 4 | ST20630000 |
Set the clutch cover over the disc and start all securing bolts finger-tight. Tighten them diagonally and gradually — two or three passes around the pattern — to draw the cover down evenly against the diaphragm spring tension. Final torque: 2.4 to 2.6 kg-m (17.4 to 18.8 ft-lb). Leave the alignment bar in place until you are ready to slide the transmission in.
Common Mistakes
Running the bushing dry. Packing the bore with grease before reinstalling the transmission is not optional. A dry bushing will wear through quickly and the symptoms — vibration, input shaft noise, uneven clutch engagement — will feel exactly like a clutch problem rather than a bushing problem.
Bushing driven in crooked. If the bushing seats cocked, the bore is no longer concentric with the crank. The transmission will be difficult or impossible to seat fully, or the input shaft will bind on first engagement. Pull the bushing and start over.
Clutch disc installed backwards. The sprung hub faces the gearbox. If the disc goes in reversed, it contacts the flywheel on the wrong face and the clutch will not function. Check orientation before torquing the cover.
Removing the alignment bar before the gearbox is in. Once the bar comes out, the disc is free to shift. Even a small offset will prevent the input shaft from picking up the splines. Leave the bar seated until the transmission nose is through the bell housing and the splines are engaged.
Uneven torque on the cover bolts. Running one side down before the others loads the pressure plate unevenly and can warp it. Diagonal, incremental tightening is not just FSM formality — it matters here.
Verification
After the transmission and drivetrain are back together:
- Pump the clutch pedal several times to build hydraulic pressure and seat the release bearing against the diaphragm spring fingers.
- Check pedal free travel at the pedal head — it should be 10 to 15 mm (0.39 to 0.59 in). Adjust at the withdrawal lever if needed.
- With the engine at operating temperature, run through all gears and listen for input shaft whine, pedal vibration, or rough engagement. Any of those symptoms point to a misaligned or poorly seated bushing, and the transmission will need to come back out.
- On the first few drives, confirm the clutch engages smoothly and holds under load before declaring the job done.
