
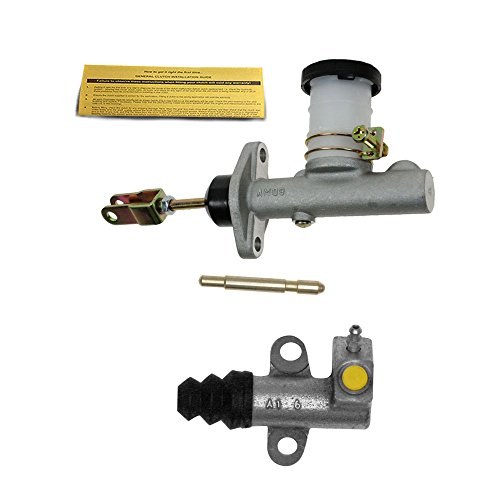
A clutch pedal that sinks slowly to the floor, pumps up after a few strokes, or leaves a wet spot under the driver’s footwell is pointing straight at the master cylinder. On a car pushing 50 years old, the internal rubber piston cup has been sitting in brake fluid through decades of heat cycles — it was never going to last forever. Replacing or rebuilding the master cylinder is a two-hour job that restores a crisp, confident pedal feel and keeps hydraulic fluid where it belongs.
Background
The 240Z hydraulic clutch works through a simple chain: the pedal pushes a push rod into the master cylinder, the master builds fluid pressure, that pressure travels through a hard line to the operating (slave) cylinder at the bellhousing, and the slave pushes the withdrawal lever to release the clutch. Both cylinders share the same 15.87 mm bore.
The failure mode is almost always the primary piston cup. The rubber compound used in early-70s Nissans doesn’t survive indefinitely in brake fluid, especially when the fluid hasn’t been flushed in years. A worn or swollen cup lets fluid bypass the piston rather than pressurizing the line — that’s the sinking pedal. External leakage past the dust cover is equally common and accelerates corrosion in the bore over time.
When one cylinder is tired, the other is usually not far behind. If the master is worn enough to pull, budget the operating cylinder into the same service visit.
Specs at a Glance
| Specification | Metric | Imperial |
|---|---|---|
| Master cylinder bore diameter | 15.87 mm | 5/8 in |
| Max allowable cylinder-to-piston clearance | 0.15 mm | 0.0059 in |
| Pedal height (unloaded, from toe board) | 202 mm | 8.0 in |
| Pedal free travel (at pedal head) | 10–15 mm | 0.394–0.590 in |
| Pedal pressing effort at full stroke | 10–15 kg | 22–33 lb |
No mounting bolt torque for the master cylinder appears in the factory service manual. Snug to firm with a calibrated final quarter-turn is standard practice — don’t crush the mounting flange.
Tools
| Tool | Buy | |
|---|---|---|
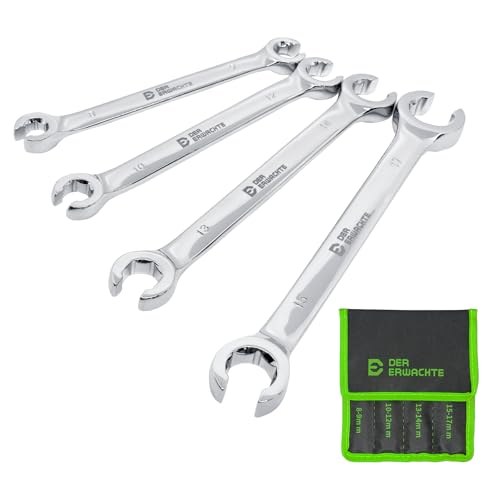 | 10 mm flare nut wrench | Buy ↗ |
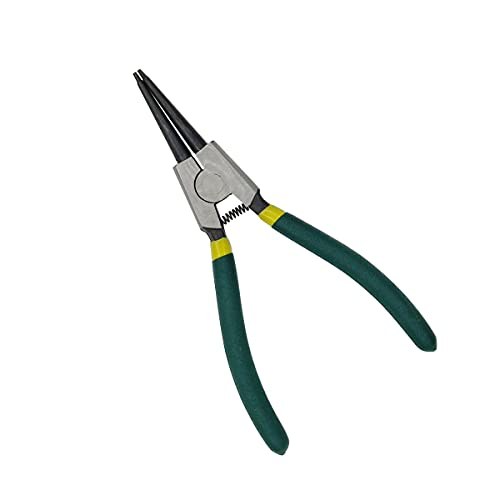 | Internal snap ring pliers | Buy ↗ |
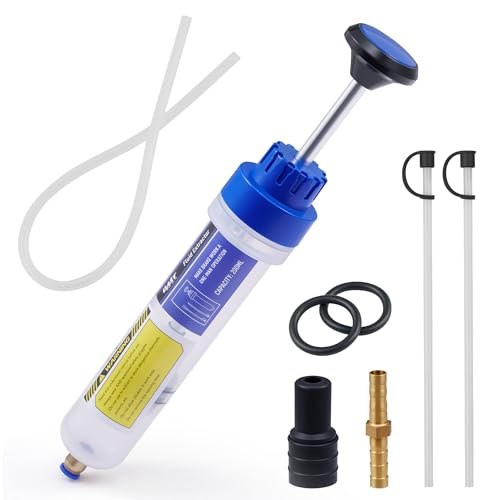 | Brake fluid transfer pump or turkey baster | Buy ↗ |
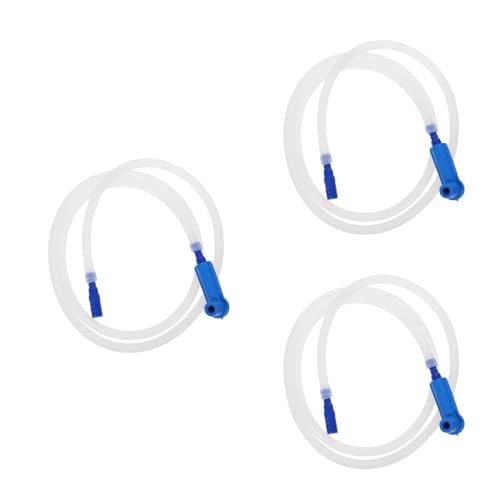 | Clear bleed tubing, 3–4 ft | Buy ↗ |
Also:
- 3/8″ socket set and ratchet
- Small flat-blade screwdriver
- Drain pan and rags
- Clean glass jar (for capturing bleed fluid
Parts
| Part | Recommended part | |
|---|---|---|
| Clutch master cylinder | Buy on Amazon ↗ |
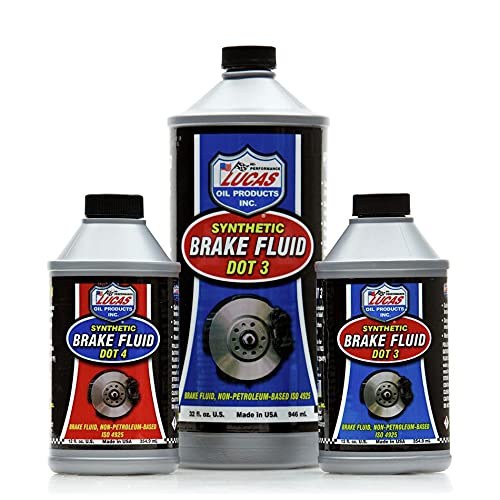 | DOT 3 brake fluid | Buy on Amazon ↗ |
Procedure
1. Preparation
Work on a level surface with the parking brake set. The master cylinder mounts to the driver’s side of the firewall, directly above the clutch pedal pivot. Lay rags under the entire work area before loosening anything — brake fluid strips paint on contact.
Before breaking the hydraulic line, use a transfer pump or turkey baster to pull as much fluid as possible out of the reservoir. Less fluid in the system means less mess when the line comes off.
2. Disconnect the push rod from the pedal
Loosen the lock nut on the master cylinder push rod and disconnect the rod from the clevis that links it to the clutch pedal. Note the current push rod length before you touch the adjustment — counting exposed threads now saves time later.
3. Disconnect the hydraulic line
Use the flare nut wrench to loosen the clutch line fitting at the master cylinder outlet port. Have the drain pan in position before the fitting moves — fluid runs immediately. If the fitting is corroded and stuck, soak it with penetrant rather than reaching for an open-end wrench. An open-end will round that soft brass nut fast.
4. Remove the cylinder
Remove the securing bolts that attach the master cylinder to the firewall bracket. Pull the assembly clear of the vehicle.
5. Disassembly
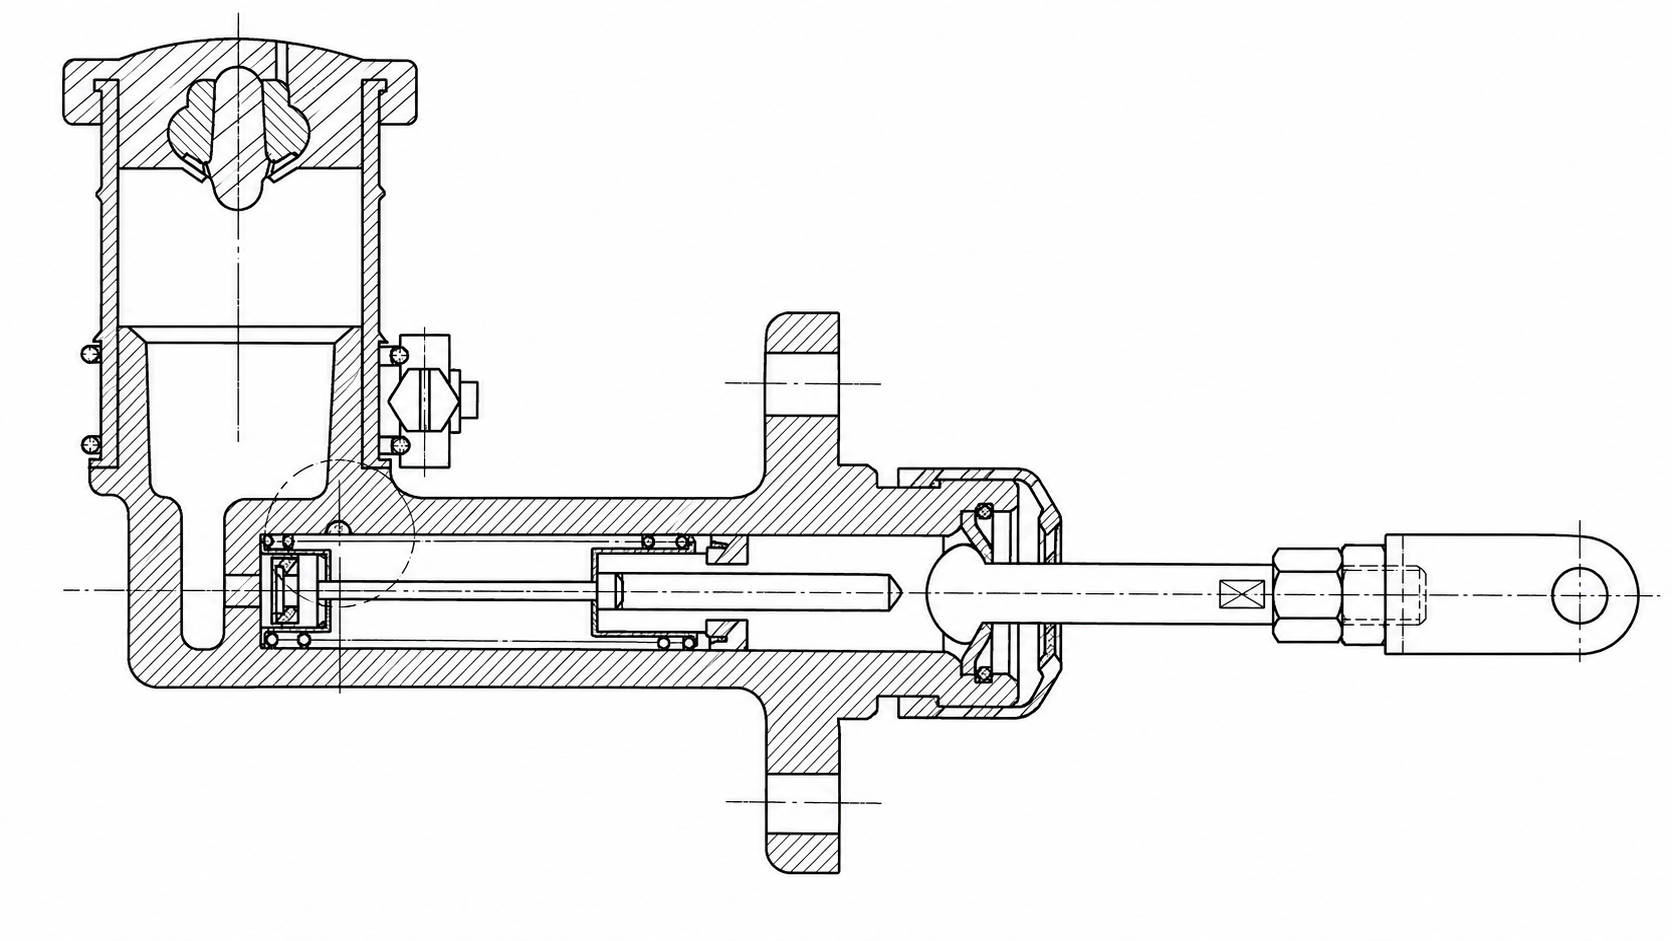
Set the cylinder on a clean bench covered with a rag. Remove the filler cap and drain any remaining fluid. Slide the dust cover back toward the push rod end, then use the snap ring pliers to pull the snap ring out of the bore opening. With the snap ring removed, the stopper, push rod, piston assembly, primary cup, and return spring assembly all slide out as a unit. Lay the parts out in sequence so reassembly doesn’t require guesswork.
6. Inspection
Wash all metal parts in fresh brake fluid before inspecting. Hold the empty cylinder up to a light source and look down the bore: scoring, pitting, or a worn ring at the cup’s reversal point all mean the bore is unserviceable. If the clearance between the bore and piston exceeds 0.15 mm (0.0059 in), replace the complete cylinder — boring out is not a practical option on this diameter.
Replace the piston cup every time the cylinder is apart — no exceptions. The FSM is explicit on this point. Even a cup that looks undamaged has taken a permanent compression set and will not seal reliably once re-seated.
While the cylinder is off the car, inspect the dust cover, reservoir, filler cap, and the hard clutch line for cracking, deformation, or signs of previous seeping. Replace anything that looks questionable before reassembly.
7. Reassembly — rebuild route
If you’re rebuilding the original cylinder rather than installing a replacement:
- Soak the new piston cup in clean brake fluid for several minutes before assembly.
- Coat the bore interior and the piston with fresh brake fluid.
- Install the cup with its lip facing away from the push rod end — the open side of the cup lip must face the fluid. Installing it backwards is the single most common rebuild error; a reversed cup will not hold pressure at all and the pedal will go straight to the floor.
- Slide the spring, piston assembly, and stopper back in, then seat the snap ring fully in its groove. Give it a light tap around the circumference to confirm it’s home all the way around.
- Fold the dust cover back over the push rod end.
If you’re installing a complete reman or new cylinder, skip to step 8.
8. Reinstallation
Bolt the master cylinder back to the firewall. Reconnect the hydraulic line — thread the flare fitting in by hand first to avoid cross-threading, then snug it with the flare nut wrench. Firm, not excessive.
Reconnect the push rod to the clevis and run the lock nut down loosely. You’ll final-tighten it after pedal height is set.
9. Set pedal height and free travel
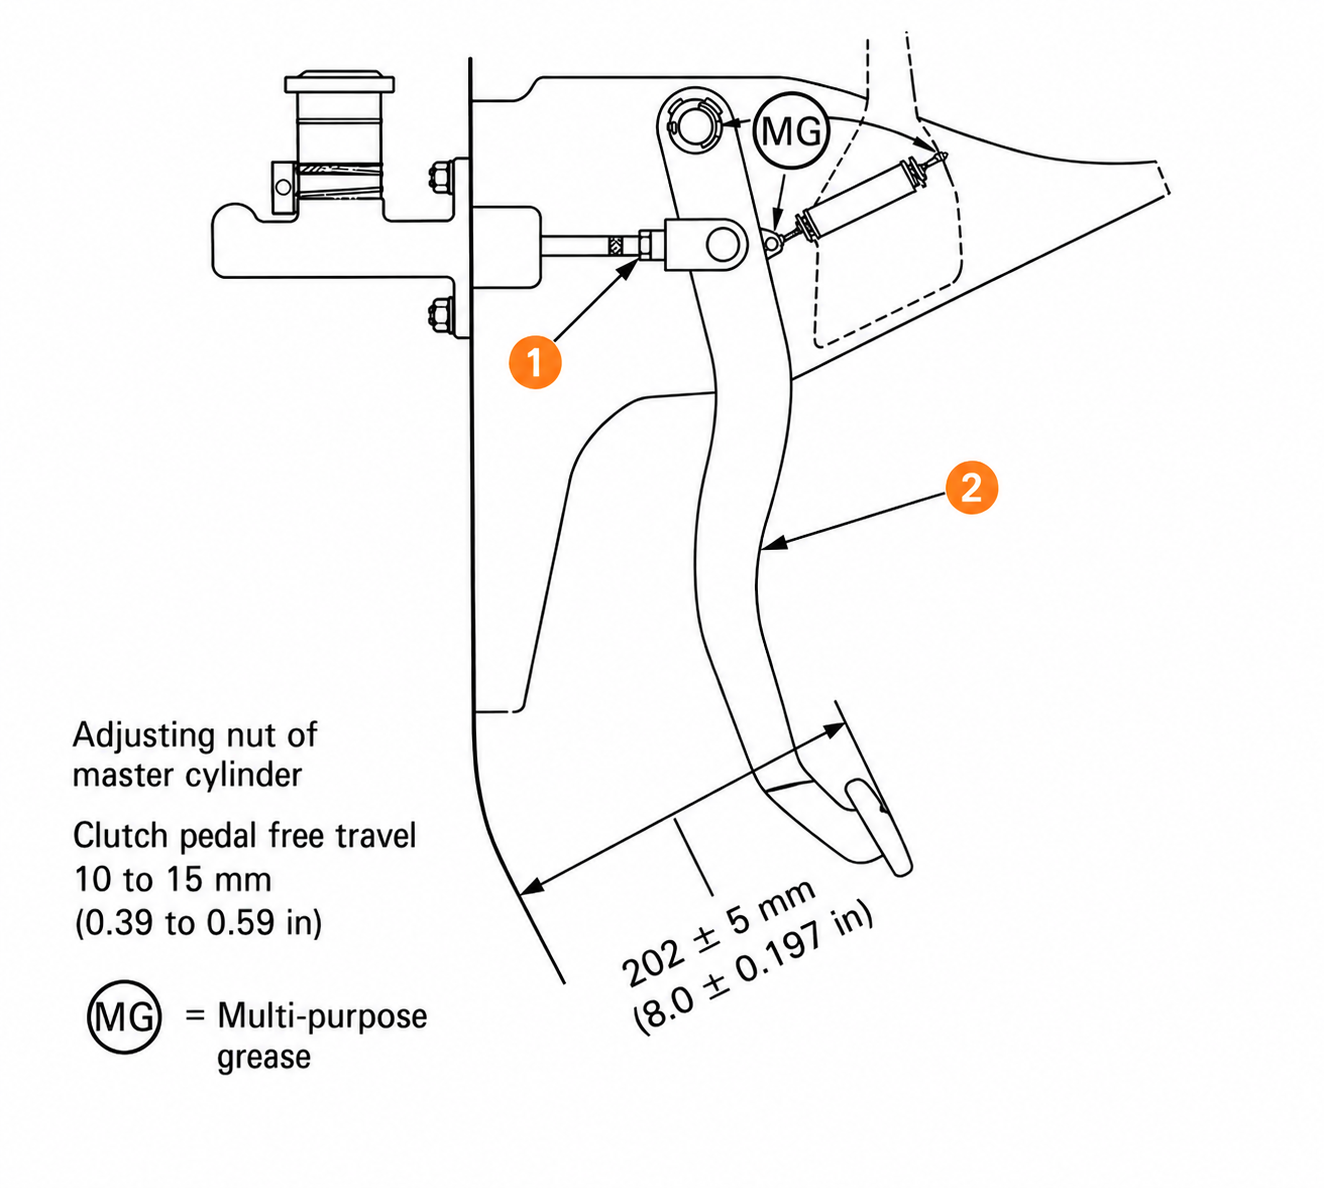
With the push rod connected, adjust its length until the clutch pedal head sits 202 mm (8.0 in) above the toe board at rest. Measure from the floor panel to the center of the pedal pad. Lengthen or shorten the rod by turning it relative to the clevis end, then lock the nut once the measurement is correct.
After setting height, confirm pedal free travel — the slack you feel before resistance builds — is 10 to 15 mm (0.394 to 0.590 in) at the pedal head. Push rod length controls both dimensions; get the height right first, then verify free travel is within range.
| # | Component |
|---|---|
| 1 | Adjust nut |
| 2 | Pedal lever |
10. Bleed the hydraulic system
- Fill the master cylinder reservoir to the full mark with fresh DOT 3 brake fluid.
- Locate the bleed screw on the operating cylinder at the bellhousing. Remove its dust cap and open the screw approximately three-quarters of a turn. Fit clear tubing over the nipple and drop the other end into a jar that already contains a small amount of brake fluid — the submerged end prevents air from being drawn back up the tube on the return stroke.
- Keep the reservoir topped up throughout the entire bleed. Letting it run dry pulls air straight back into the master and forces you to start over from scratch.
- Depress the clutch pedal quickly and hold it down. Tighten the bleed screw with the pedal held, then allow the pedal to rise slowly. Repeat this cycle until the fluid running into the jar is completely free of air bubbles.
- On the final cycle, tighten the bleed screw while the pedal is still held down. Remove the tube, replace the dust cap, and top the reservoir back to the full line.
Common Mistakes and Troubleshooting
Cup installed backwards. If the pedal goes straight to the floor the moment you get in the car after a rebuild, the cup is almost certainly facing the wrong way. Disassemble and flip it.
Rounded hydraulic fitting. A flare nut wrench is not optional for that 10 mm fitting — it’s mandatory on the first attempt. If it’s already rounded from a previous owner’s open-end wrench, a line-wrench socket is the next step before anything more aggressive.
Reservoir ran dry mid-bleed. One moment of distraction and you’re back to square one. Have a full quart of fluid open next to you before you start the first stroke, and check the level every two or three cycles.
Pedal height out of spec. Too short — the push rod is always partially compressing the piston, dragging the clutch and cooking the disc. Too long — the pedal doesn’t travel far enough to fully disengage. Measure it; don’t estimate.
Spongy pedal after thorough bleeding. If bleeding was done correctly and the pedal still feels soft, the operating cylinder cups are the likely culprit. They fail exactly the same way the master does, on the other end of the hydraulic line.
Verification
With the engine off, pump the clutch pedal firmly several times and hold it down for 30 seconds — it must not sink. Start the engine and work through all five gears; engagement and disengagement should be positive and clean with no slipping, dragging, or grabbing. Inspect under the car for drips at the master cylinder body, the hard-line fitting, and the operating cylinder.
After the first short drive, let the car cool and recheck the fluid level. A slowly dropping reservoir with no external leak indicates internal bypass — the cup may be seating inconsistently and will need to come back out.
Maintenance Interval
Flush the clutch hydraulic fluid every two years or 24,000 miles regardless of whether any components have been replaced. DOT 3 is hygroscopic: it absorbs moisture from the air, which lowers its boiling point and corrodes metal bores from the inside. Fresh fluid costs a few dollars; a corroded master cylinder costs significantly more.
