
If you’re finding gear oil dripping at the center of the undercar, or you’ve noticed a film coating the front half of the driveshaft, the rear extension oil seal is the first thing to check. It lives at the very back of the transmission’s rear extension housing, where the output shaft exits toward the propeller shaft. When the lip fatigues — and on a 50-year-old gearbox it eventually will — gear oil seeps past, coats the driveshaft, and slings throughout the tunnel. Left alone, it’ll slowly run the gearbox dry.
Replacing it doesn’t require pulling the transmission. With the propeller shaft out of the way and basic hand tools, this is a driveway repair.
What the Rear Extension Is
The 240Z gearbox is built as three bolted-together housings: the clutch housing at the front, the main case in the middle holding the gear assembly, and the rear extension at the back. The extension encloses the tail of the mainshaft and routes it rearward to the propeller shaft connection. A pressed-in lip seal at the rearmost bore of this extension rides against the mainshaft’s smooth surface and keeps gear oil inside.
This procedure covers both the 4-speed (F4W71A) and 5-speed (FS5C71A) gearboxes — the rear extension seal arrangement is the same on both. The factory also specifies replacing the rear extension gasket whenever the housing is separated, so plan to address that at the same time.
Specs at a Glance
| Item | Spec | Notes |
|---|---|---|
| Rear extension bolts | 1.5–2.2 kg-m (10.8–15.9 ft-lb) | Apply liquid packing to mating faces |
| Gear oil drain plug | 2.0–4.0 kg-m (14.5–28.9 ft-lb) | Clean threads before reinstalling |
| Transmission oil capacity | 1.5 L (0.4 US gal) | Fill to check-plug level with car on level ground |
Tools
| Tool | Buy | |
|---|---|---|
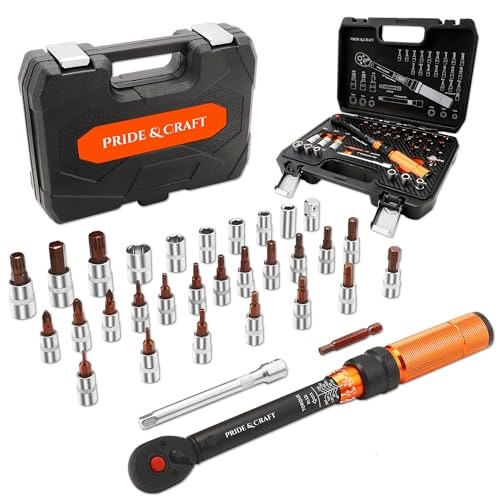 | Torque wrench, 3/8″ drive, covering 10–30 ft-lb | Buy ↗ |
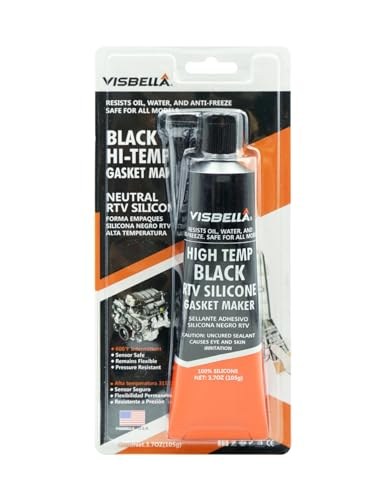 | RTV / liquid packing gasket maker | Buy ↗ |
Also:
- Floor jack and jack stands (or ramps
- Drain pan, at least 2 qt capacity
- Socket set, metric 10–17 mm range
- Breaker bar
- Rubber or soft-faced mallet
- Seal puller or seal pick
- Brass drift or seal driver set
- Electrical tape or plastic wrap (spline protection during reassembly
- Contact cleaner or brake cleaner
- Clean lint-free rags
- Oil syringe or flexible-neck fill bottle
Parts
| Part | Recommended part | |
|---|---|---|
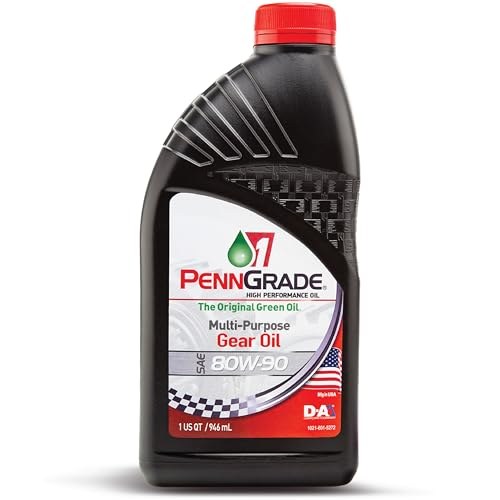 | Gear oil, GL-4 SAE 80W-90 (manual transmission) | Buy on Amazon ↗ |
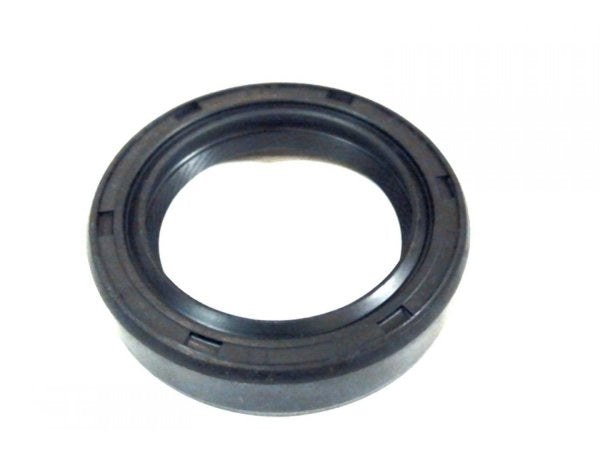 | Rear extension oil seal | Buy at Z Car Depot ↗ |
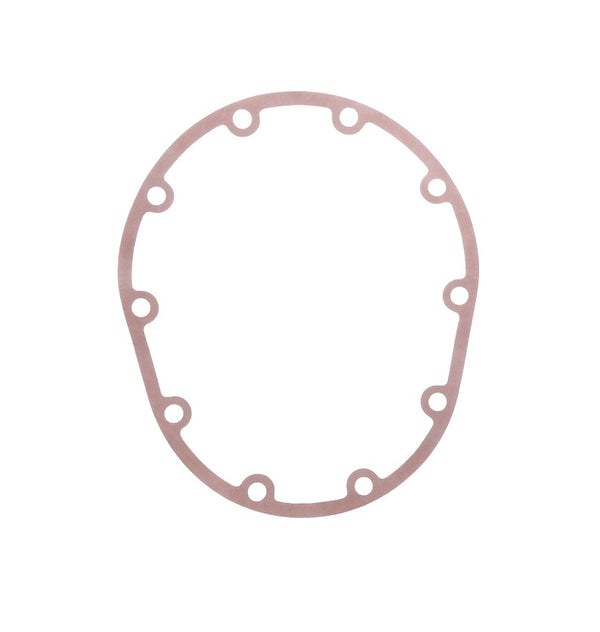 | Transmission rear extension gasket (F4W71A) | Buy at ZCarDepot ↗ |
Procedure
1. Drain the Transmission
Get the car level on jack stands. Set your drain pan under the transmission case and crack the drain plug loose. Let it drain completely — with the oil out, there’s no mess when you separate the rear extension later. Once drained, thread the drain plug back in finger-tight for now.
2. Remove the Propeller Shaft
Mark the driveshaft-to-differential flange orientation with a paint pen before unbolting. The factory balanced these together; reinstalling out of phase adds vibration. Support the shaft as you unbolt it from the differential flange.
At the front, the driveshaft’s slip joint simply slides out of the rear extension opening. Pull it straight back. Gear oil may trickle out — the drain you just did keeps it minimal. Stuff a clean rag into the rear extension opening to keep debris out.
3. Separate the Rear Extension Housing
The rear extension bolts to the main transmission case around its perimeter. Remove all the connecting bolts. The housing will likely stick on the gasket — break it free by tapping around the joint face with a rubber mallet. Don’t pry against either mating surface.
Once it breaks loose, slide the extension straight rearward off the mainshaft. Keep it level and aligned — if it tilts or goes crooked, the mainshaft spline will score the bore. A helper supporting the extension’s weight from below makes this much easier in tight quarters.
Set the housing on a clean bench.
4. Remove the Old Seal
Hook a seal puller or bent pick behind the seal body and lever it out, working progressively around the circumference. Don’t focus all your prying force on one spot — a distorted bore won’t seal even with a new seal installed.
After the seal is out, inspect the bore for grooves, corrosion, or burrs. Light corrosion comes off with fine emery cloth. A deeply grooved bore needs a machine shop.
Also inspect the mainshaft surface where the seal lip rode. A worn groove in the shaft means the new seal will leak at the same spot. A speedi-sleeve can recover a grooved shaft — that’s worth addressing before closing it back up.
5. Drive In the New Seal
Wipe the bore clean with contact cleaner and a lint-free rag.
Lightly coat the seal’s outer diameter and lip with clean gear oil. Orient the seal with the lip facing inward, toward the transmission. Start it into the bore square by hand. Drive it home with a seal driver matched to the seal OD, or use a brass drift and mallet — work around the circumference in small, even strokes. Stop when the seal face sits flush with the housing bore. Going past flush doesn’t help sealing; going proud will let the propeller shaft yoke catch the seal face.
6. Protect the Seal on Reinstallation
Before sliding the extension back onto the mainshaft, wrap the splines in two layers of electrical tape or plastic wrap. The spline edges are sharp enough to cut the new lip on the way through. Install the extension slowly and straight, rotating it slightly as it passes over the splines to avoid catching a tooth edge. Pull the tape free as the extension starts over the shaft — you want it gone before the seal reaches the shaft.
7. Reinstall the Rear Extension
Clean both mating faces — case and extension — with contact cleaner. Apply a thin, continuous bead of RTV to the case mating surface, or install a new gasket with a light film of liquid packing on both sides. The factory specified a gasket with liquid packing applied to the joint; either a fresh gasket or RTV alone works.
Seat the extension against the case face and install all connecting bolts by hand. Torque them in a cross-pattern to 1.5–2.2 kg-m (10.8–15.9 ft-lb).
8. Reinstall the Propeller Shaft
Slide the slip joint back into the rear extension opening. Align the driveshaft to your paint marks at the differential flange. Torque the flange bolts to spec per the propeller shaft section of your FSM. Check that the slip joint isn’t bottomed out — there should be axial travel remaining when the shaft is fully installed.
9. Refill Transmission Oil
With the car level, pull the fill plug from the side of the main case. Use a syringe or flexible-neck bottle to fill with 80W-90 GL-4 until oil just begins to dribble from the fill hole — that’s your full mark. The capacity is 1.5 L (0.4 US gal). Reinstall the fill plug. Torque the drain plug to 2.0–4.0 kg-m (14.5–28.9 ft-lb) if you haven’t already.
Common Mistakes
Skipping the spline wrap. This is the most common cause of a seal that leaks immediately after replacement. Wrap the splines — it takes 30 seconds.
Driving the seal in off-square. The seal needs to go in perfectly flat. Even a slight cock biases the lip contact. Start it square and check alignment before each mallet stroke.
Reusing the old gasket. Since the housing is already off, there’s no reason to reuse a 50-year-old gasket. A new leak at the extension-to-case joint is frustrating to diagnose after you’ve already done this job.
Checking the wrong spot for new drips. Old oil already soaked into the tunnel and coating the driveshaft will continue to drip and sling for the first few miles regardless of your repair quality. Thoroughly clean the driveshaft, extension housing, and surrounding tunnel before reassembly — only then can you accurately evaluate the test drive.
Not checking the fill level before driving. If the seal was weeping for a while, the transmission may already be low. Fill to the proper level before the first drive.
Verification
Before starting the engine, confirm: drain plug torqued, fill plug torqued, propeller shaft bolts torqued and oriented to your marks, all rear extension bolts torqued.
Take a 15-minute drive that includes time at highway speed, then park and look immediately. The rear extension housing and front half of the driveshaft should be dry. Surface residue from the old leak is normal — fresh wet oil accumulation is not.
Recheck the fill level two or three days later. Give the new seal a few heat cycles to fully seat.
When to Check Again
There’s no fixed replacement interval for this seal — it goes when it goes. On cars that see extended storage, the lip can dry out and crack without warning. Check the rear extension area annually for any fresh oil weeping. If the transmission ever gets low on oil for any reason, inspect all seals and the drain plug as part of topping back up.
